







Most people ask whether their photograph will print sharply after it arrives looking soft. The question takes about two minutes to answer beforehand, and the answer is arithmetic rather than opinion.
There are really three separate things to check, and only the first is widely understood. Whether you have enough pixels. Whether the shape of your photograph matches the shape of the frame. And — the one almost nobody considers — how far away the print will be viewed from, which changes the first answer substantially.
Only pixels matter
Before anything else, a clearing-up. The file size in megabytes tells you nothing useful — a heavily compressed 2 MB photo can hold more detail than a bloated 8 MB screenshot. Neither does the word “HD”, which in practice means almost nothing. And “300 DPI” is not a property your file possesses; it is a relationship between pixels and inches that only exists once you choose a print size.
What matters is the pixel dimensions: a pair of numbers like 3000 × 4000. Everything below follows from them.
The formula
Divide pixels by inches and you get pixels per inch — PPI, commonly called DPI.
- 300 PPI is the standard for work examined up close. At this density the eye cannot resolve individual pixels at normal reading distance.
- 150 PPI is the practical minimum. Prints at this density look fine from a step back and slightly soft with your nose against them.
- Below 150 PPI you are relying on viewing distance to rescue it — which, as below, is sometimes a perfectly reasonable thing to do.
So a 3000 × 4000 pixel photograph printed at 10 × 12 in gives 300 PPI (3000 ÷ 10). The same file at 20 × 24 in gives 150 PPI. Same photograph, same file, different answer — because the question is always “sharp at what size”.
What you need, size by size
The pixel dimensions needed for each print size, at both the ideal and the minimum density.
| Print size | Ideal (300 PPI) | Minimum (150 PPI) |
|---|---|---|
| 4 × 6 in | 1200 × 1800 | 600 × 900 |
| 5 × 7 in | 1500 × 2100 | 750 × 1050 |
| 6 × 8 in | 1800 × 2400 | 900 × 1200 |
| 8 × 10 in | 2400 × 3000 | 1200 × 1500 |
| 8 × 12 in | 2400 × 3600 | 1200 × 1800 |
| 10 × 12 in | 3000 × 3600 | 1500 × 1800 |
| 12 × 18 in | 3600 × 5400 | 1800 × 2700 |
| 16 × 20 in | 4800 × 6000 | 2400 × 3000 |
| 18 × 24 in | 5400 × 7200 | 2700 × 3600 |
| 20 × 30 in | 6000 × 9000 | 3000 × 4500 |
| 24 × 36 in | 7200 × 10800 | 3600 × 5400 |
Look at the bottom rows and you will notice something: 7200 × 10800 pixels is about 78 megapixels. No phone and almost no consumer camera produces that. Which tells you that large prints are, in practice, always made below 300 PPI — and that this is normal rather than a compromise. The next section explains why it works.
What your phone actually gives you
- A 12-megapixel photo — the standard output of most phones for the past decade — is roughly 3000 × 4000 pixels. That is 300 PPI up to 10 × 12 in, and 150 PPI up to 18 × 24 in.
- A 48 or 50-megapixel phone usually does not give you 48 megapixels by default. Most combine groups of sensor pixels into one for better low-light quality and output 12 MP unless you specifically switch on the high-resolution mode. If you own one of these phones and plan to print large, it is worth finding that setting before the occasion rather than after.
- A zoomed phone photo may be far smaller than you expect. Unless your phone has a dedicated telephoto lens, zooming crops the sensor and discards pixels. A heavily zoomed shot can be a fraction of the resolution of an unzoomed one.
Viewing distance changes the answer
This is the part that resolves the apparent contradiction above, and it is genuinely counter-intuitive: the bigger the print, the fewer pixels per inch it needs.
The reason is that you do not look at a large print from the same distance as a small one. A 6 × 8 in frame on a desk sits 40 cm from your face. A 24 × 36 in canvas above a sofa is viewed from two or three metres, because that is where the furniture puts you. Your eye resolves less detail at three metres than at forty centimetres, so the print can afford less.
| Typical viewing distance | Density that looks sharp | Where this applies |
|---|---|---|
| Under 0.5 m | 300 PPI | Desk and table top frames, albums, small gifts |
| Around 1 m | 180–200 PPI | Hallway frames, frames beside a desk, shelf displays |
| 2 m and beyond | 100–150 PPI | Above a sofa or bed, feature walls, reception areas |
Treat these as rules of thumb rather than thresholds. The practical upshot is useful: that 12-megapixel phone photo which tops out at 10 × 12 in for desk viewing is perfectly capable of a 24 × 36 in piece above a sofa, because at that distance roughly 125 PPI is all you need. The mistake is not printing large from a phone photo — it is printing large and then standing close to inspect it.
The finish is forgiving, or it is not
The same file can look fine in one finish and disappointing in another. This is not marketing; it is a physical property of the surface.
- Canvas is the most forgiving. The woven texture breaks up the image surface, which hides softness, grain and mild compression. If your source photograph is limited, canvas is doing you a favour.
- A border frame with a mat is next. Partly the paper, partly because a mat lets you print smaller while still filling a large wall position.
- Glossy acrylic is unforgiving. A hard, smooth, reflective surface presents the image with nothing to hide behind. Every soft edge and compression artefact is available for inspection.
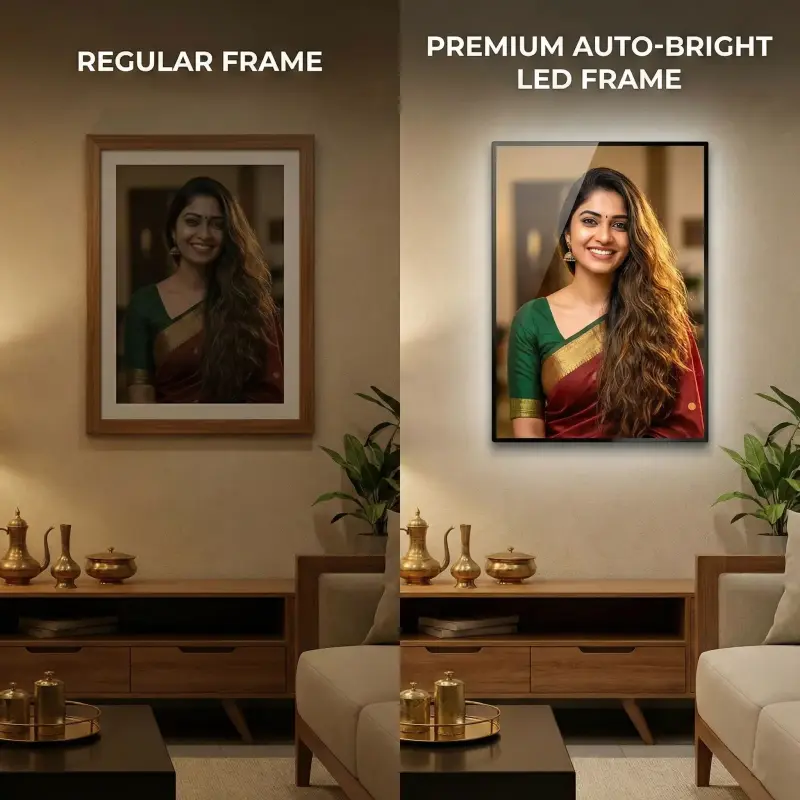
- Backlit LED is the least forgiving of all. Light passing through a print exaggerates everything — banding in a gradient, noise in shadows, a colour cast you never noticed on screen.
So if you are working with an older or smaller photograph, choosing canvas is often a better use of money than paying to enlarge or upscale the file. You are solving the problem with the surface instead of pretending to solve it with software.
The cropping problem, which is separate and sneakier
Resolution decides whether the print is sharp. Aspect ratio decides whether the whole photograph survives. A photograph fills a frame without cropping only when the two share a shape, and most of the time they do not.
| Source | Shape | Fits cleanly |
|---|---|---|
| Most phone cameras | 3:4 | 6 × 8 in, 18 × 24 in |
| DSLR and mirrorless | 2:3 | 4 × 6, 8 × 12, 12 × 18, 20 × 30, 24 × 36 in |
| Instagram square | 1:1 | Square formats only |
| Screenshots, stories | 9:16 | Almost nothing — expect heavy cropping |
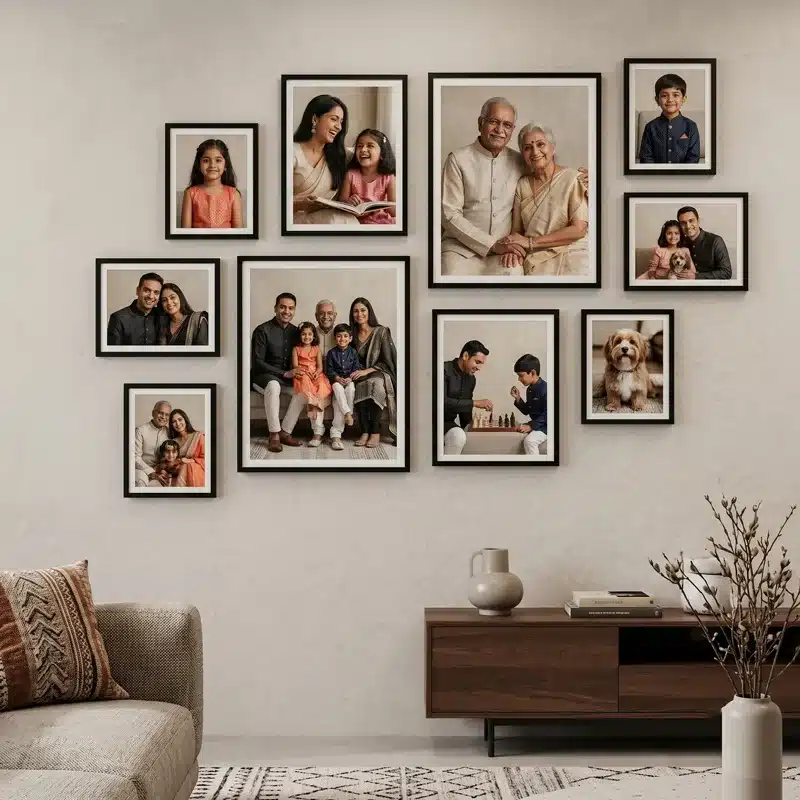
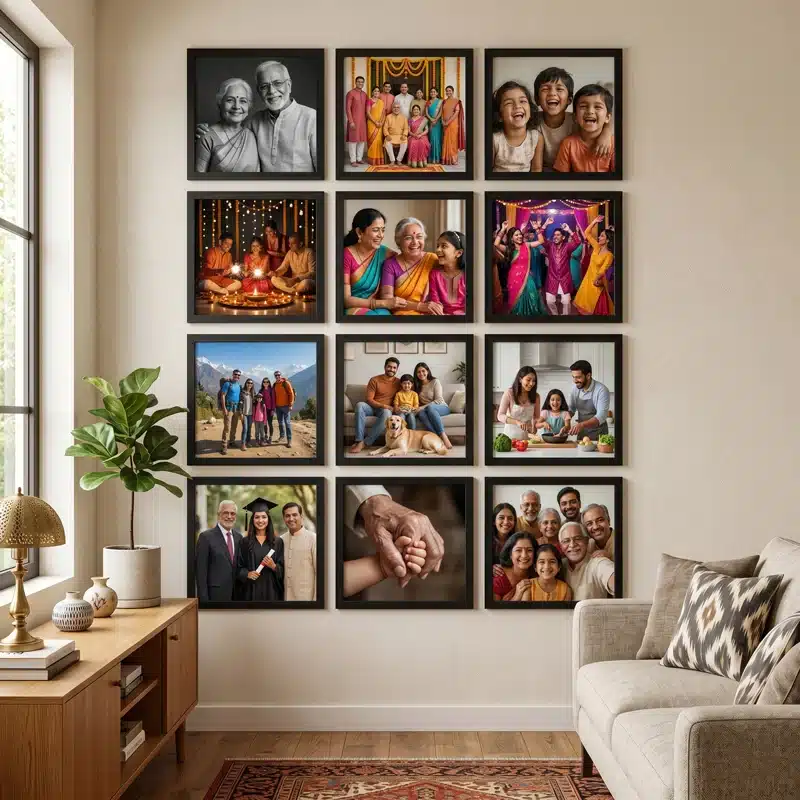
When the shapes disagree, something is cut from two sides. Usually that is harmless. Occasionally it is a disaster — and group photographs are where it goes wrong, because the people at the edges are exactly what gets removed. The classic failure is a family photo ordered in a shape that trims a grandparent’s shoulder, or a wedding group that loses the two people standing at the end of the row.
Two ways to avoid it. Either choose a frame size that matches your photograph’s native shape, using the table above. Or crop the photograph yourself, deliberately, before uploading, so you decide what leaves the frame rather than an automatic fit deciding for you. The second option is better whenever the composition matters.
Bear in mind that cropping also costs pixels. Cutting a 3:4 photo to fit a 2:3 frame discards perhaps a sixth of the image, so run the resolution check on what remains rather than on the original.
Where good photographs quietly get ruined
Very often the original is perfectly adequate and the version being uploaded is not. The usual culprits:
- Messaging apps. Photos sent normally through chat apps are resized and recompressed, and each forward compounds it. A picture that has been through three relatives’ phones is a shadow of the original. Ask for it to be sent as a document or file attachment, which preserves the original, or get it directly from whoever took it.
- Screenshots of photographs. A screenshot captures your screen’s resolution, not the photo’s. You are replacing a 3000-pixel-wide image with a 1200-pixel-wide one.
- Downloads from social media. Every platform compresses on upload. What you download is never what was uploaded.
- Photos pasted into documents and pulled out again. Word and PowerPoint routinely downsample images on insert.
It is worth ten minutes of chasing the original file. It is the single highest-impact thing you can do for print quality, and it costs nothing.
What upscaling can and cannot do
AI upscaling has become genuinely good, and it is worth being precise about what it achieves. It does not recover detail that was never recorded. It invents plausible detail consistent with what is there — which is often indistinguishable from the real thing, and occasionally is not.
- It works well on a modest shortfall — a file that needs to be 50 per cent larger, with textures like foliage, fabric and stone where invented detail is unverifiable.
- It works poorly on a large shortfall, and particularly on faces. We are extremely good at spotting a face that is subtly wrong, and upscaling can smooth or alter features in ways that read as uncanny rather than sharp. For a portrait, treat it with caution.
- It cannot fix motion blur or a missed focus. Those are not resolution problems and no amount of enlargement addresses them.
If the shortfall is large, the better answers are usually to print one size smaller, or to choose canvas and let the texture do the work.
Checking your own photo in under a minute
- iPhone: open the photo, tap the info button, and the dimensions appear beside the megapixel count.
- Android: open in Google Photos or your gallery and tap the information icon.
- Windows: right-click the file, then Properties, then Details, and read “Dimensions”.
- Mac: select the file and press Command-I, or open it in Preview and show the Inspector.
Take the smaller of the two numbers, divide it by the shorter side of your intended print in inches, and compare the result against the viewing-distance table. That is the whole check.
The short version
Pixels are the only thing that matters — not megabytes, not “HD”. Divide pixel width by print width in inches: 300 is excellent, 150 is the floor for close viewing, and 100 to 150 is perfectly fine for anything hung above furniture. Match your photograph’s shape to the frame’s or crop it yourself before ordering, especially for group photos. Chase the original file rather than a forwarded copy, because that single step fixes more disappointing prints than anything else. And if the file is genuinely marginal, choose canvas and let the texture hide what software would only paper over.
Every frame size in inches and centimetres, with the photo shape each one suits, is on the size guide. If you are still deciding between frame types, our companion guide compares border, acrylic, floater, LED and table top frames, and the full range is on the photo frames page.